Keyboard
February 2, 2024
Best 9 Laptop Keyboards: Enhance Your Typing Experience!
The best 9 laptop keyboards offer a seamless typing experience and enhanced productivity. These keyboards…
Laptop Speed
January 31, 2024
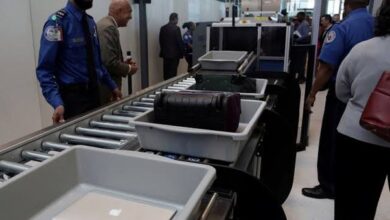
How Many Laptops Can I Carry In International Flight
You can carry a maximum of 1 laptop in your international flight. When you…
Laptop Speed
January 31, 2024
How Much Do Pawn Shops Pay for Laptops
Pawn shops typically pay between $50 to $150 for laptops, depending on factors such…
Laptop Speed
January 29, 2024
How Many Laptops Can I Bring To Bangladesh
You can bring a maximum of two laptops to Bangladesh. When traveling to Bangladesh, you…